Materials needed
For this activity you’ll need:
- The worksheet for this activity (either opened in a PDF viewer on a desktop/tablet computer or printed out).
Image to add: Worksheet with link to page
- A Human Knee Active Learning Kit (Basic or Full model).
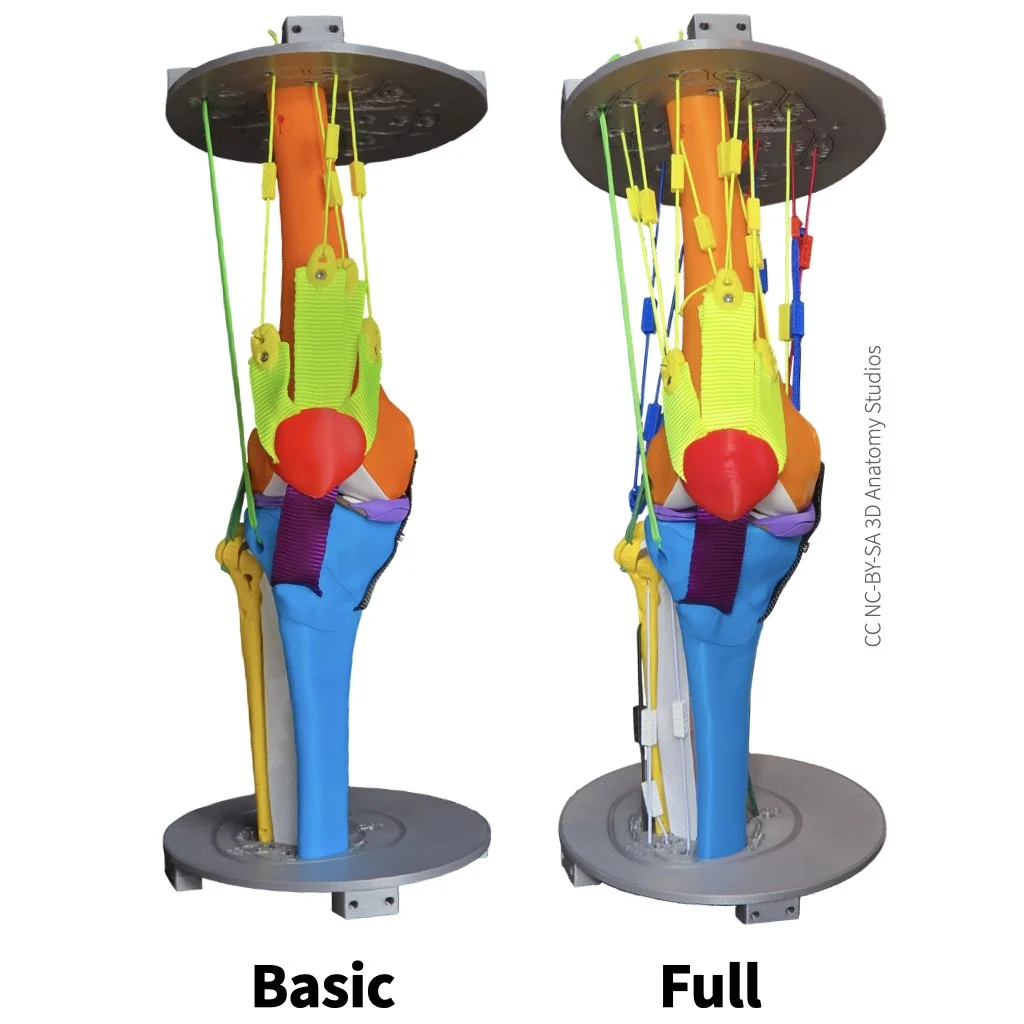
Basic (left) and Full (right) Knee Kit Models.
Be sure that your knee kit has the Iliotibial (IT) tract/band attached; this is one of the ligaments you will knock out.
![]()
The iliotibial (IT) band/tract
You do not need any of the muscles for this activity or the patella. If your knee kit has muscles attached, detach all the muscles and attach them to their designated spot on the parts plate(s) (see instructions for detaching muscles). You can leave the patella to hang from the patellar ligament or you can remove the patella by unscrewing the screw behind the patellar ligament using the Allen wrench. Once you've finished preparing your knee for this activity, it should look like one of the images below.
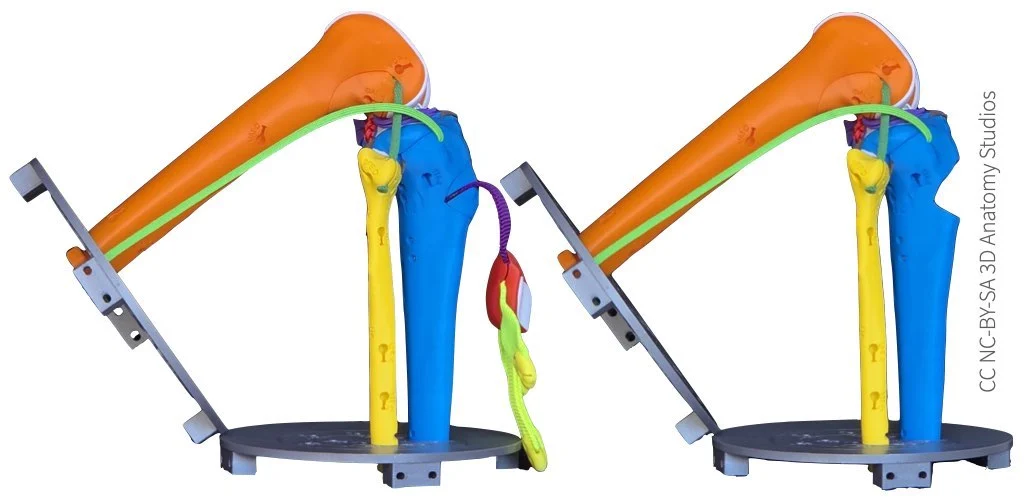
The knee kit with all of the muscles detached and with the patella either hanging loose by the patellar ligament (left) or with the patella removed (right).
While this activity can be done with the Mini Knee Kit Model, be aware that the IT tract is a significant stabilizer of the knee. Since the Mini model does not include an IT tract, your results will not include its contributions. If you're doing this activity without an IT tract, it's best to assume that any conclusions you draw are for a knee in which the IT tract is already damaged or without taking into account its contributions.
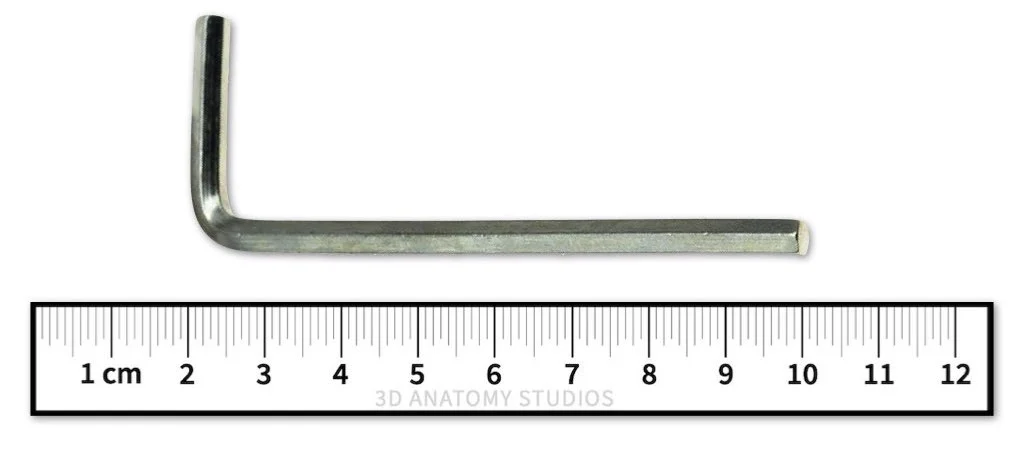
- The Allen wrench and ruler from your kit.