Materials needed
For this activity you’ll need:
- The worksheet for this activity (either opened in a PDF viewer on a desktop/tablet computer or printed out).
Image to add: Worksheet with link to page
OneAofHumantheKneefollowingActiveversionsLearningofKitthe(Basickneeorkit:Minimal muscle set knee kit- Full
muscle set knee kit
Image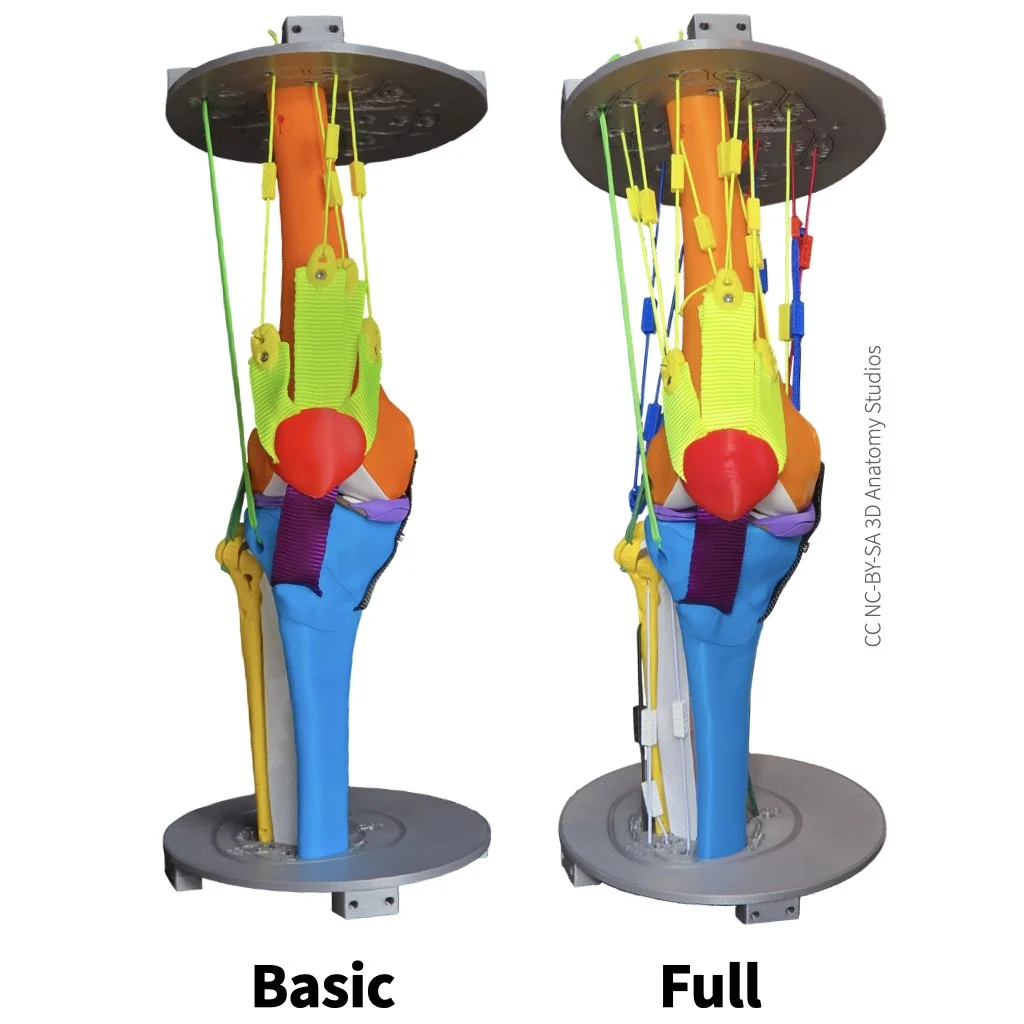
toBasic
add:(left) and Full (right) KneekitKitin the required state with all ligaments attached, including IT tract and no musclesModels.
You do not need any of the muscles for thisactivity.activity or the patella. If your knee kit has muscles attached,removedetach all themuscles.muscles and attach them to their designated spot on the parts plate(s) (see instructions for detaching muscles). Youcanwill need the patella, however. Once you've removed all the muscles, leave the patellato hanghanging from the patellar ligament; you'll be attaching manual muscle cords to hold it in place.IfOnce you've finished preparing your kneekitfordoesn'tthis activity, it should look likeonethe image below.
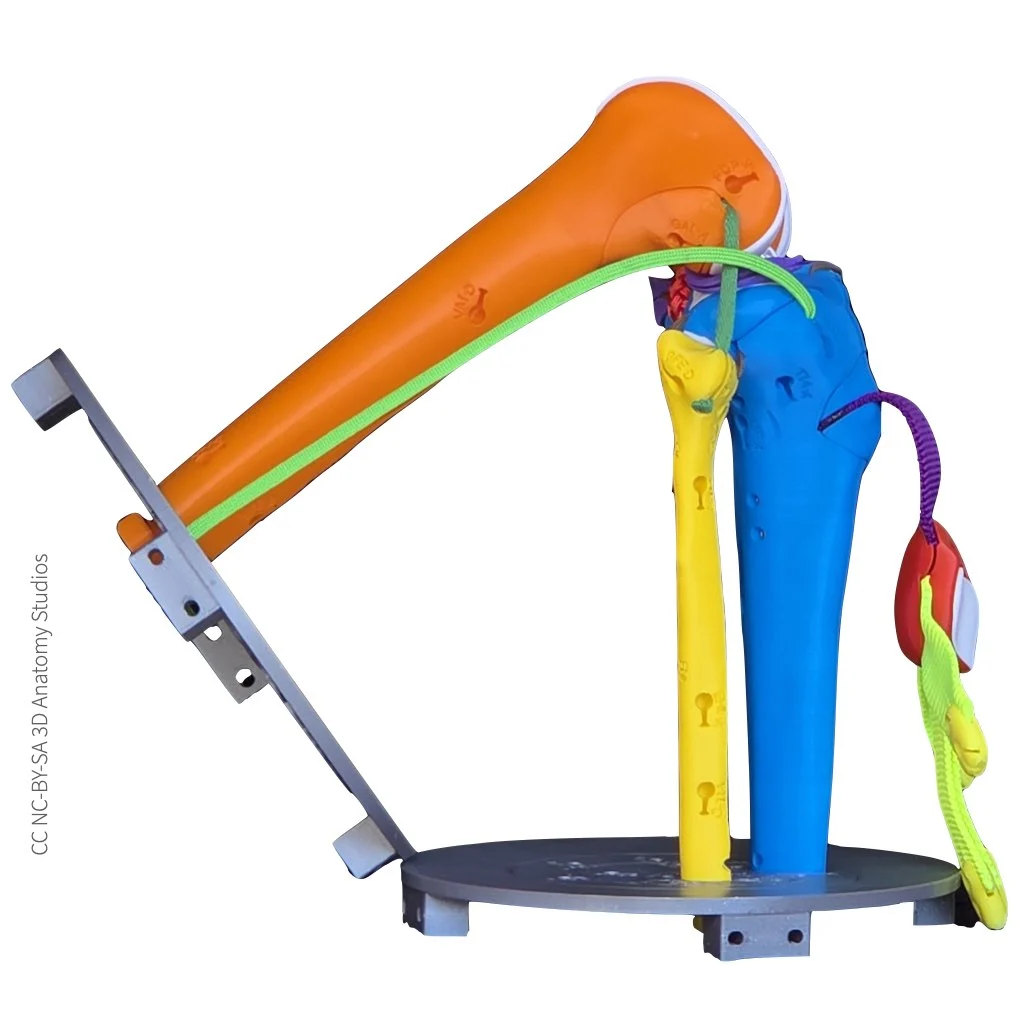
The knee kit shown from a lateral view with all of the kitsmuscles inremoved and the imagepatella above,left followhanging theseby instructionsthe forpatellar assemblingligament.
- The following items from your knee kit box:
- Forceps
- Cross section plate bracket
- All four Manual muscle cords
Image to add: forceps, bracket, and four manual muscle cords
- Two C-type clamps to attach the cross section bracket to your tabletop (not included in your kit).
Image to add: Two C-type clamps
- (Optional) Some material to place between the clamps and the tabletop to prevent damage from the clamps. A couple wooden shims stacked to make a thin rectangle are a cheap and effective solution (not included in your kit).
Image to add: shims