Clamping your knee kit to a tabletop
To perform manual muscle simulations with your knee kit, it's easier to secure your kit to a surface like a tabletop. This will free up your hands to be able to attach and pull the manual muscle cords.
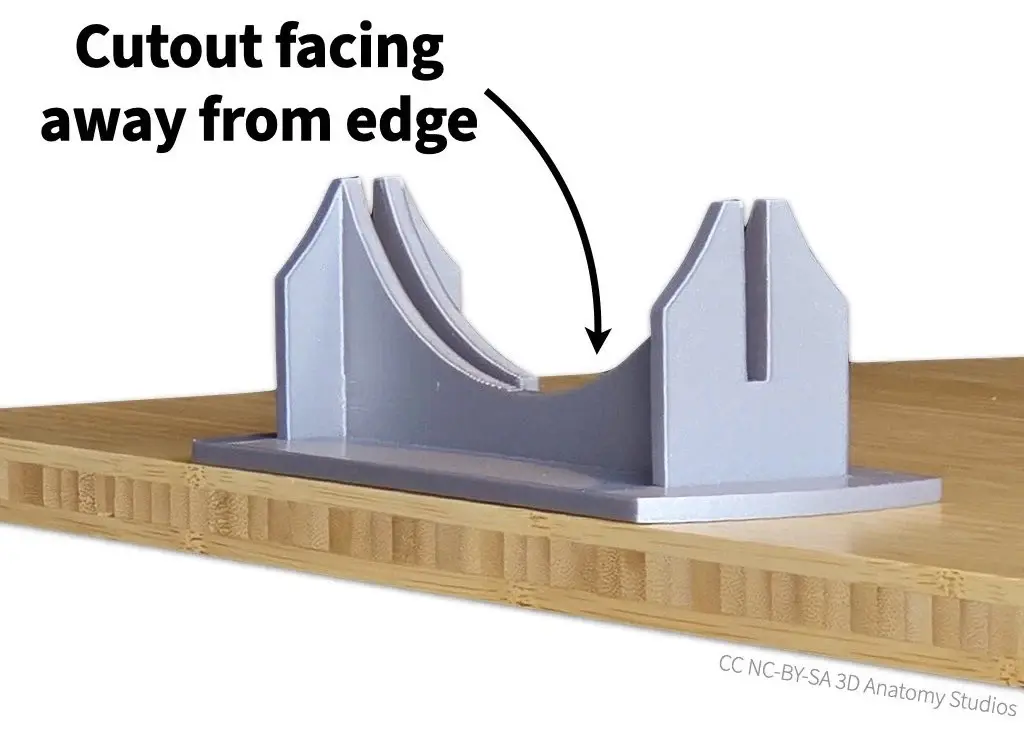
- Start by setting the bracket along an edge or at a corner of your tabletop. The slot cutout of the bracket should be facing away from the edge of the table, as shown in the image below.
- Next,
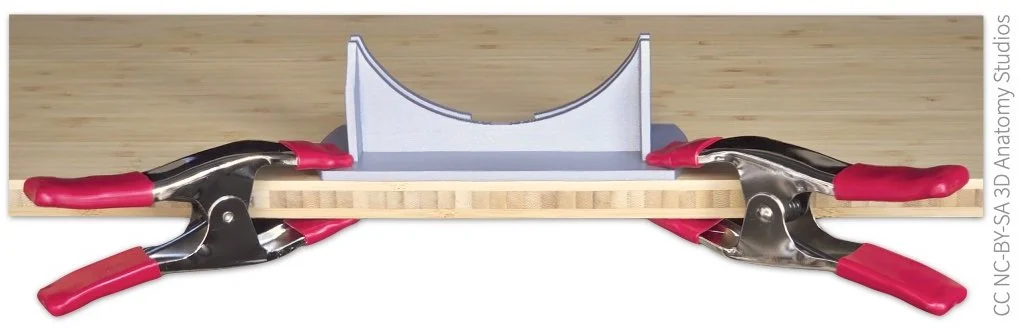
usesecure thefirst clampbracket tosecuretheonetabletopsideusing the two clamps. Attach the clamps at opposite sides of the bracket toyour tabletop, anglingkeep theclampbracket from twisting on the tabletop and angle them as much as possibleto the sidesoastheynot todon't block the motion of the knee. Ifyouyou'rehave shims orusing someothermaterialunder-clamptomaterial,protectholdthethistableinsurface,placeinsertunder tabletopthese between the clamp andtabletop untiltheclamp is tightened.Image to add: First clamp holding side of bracket onto tabletop with shims, angled as far out as possible Use the second clamp to secure the other side of the bracket, again angling the clamp as much to the side as possible and ensuring that any under-clamp material is between the clamp and tabletop.Image to add: Second clamp holding side of bracket to the tabletop with shims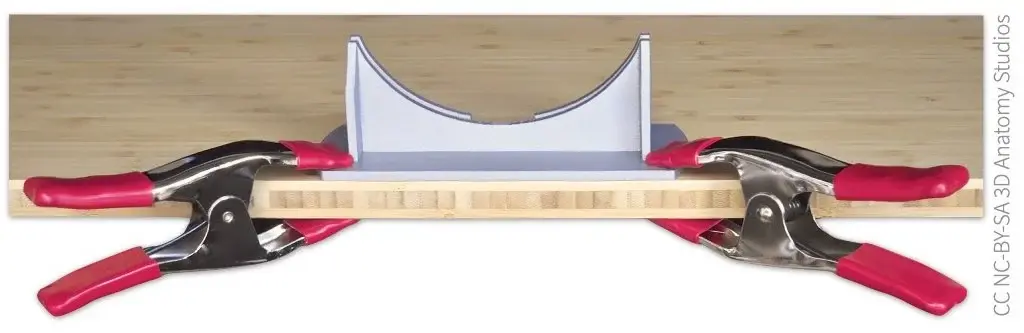
- Slide the superior cross section plate (the one attached to the femur) into the bracket, oriented so that the knee is hanging out over the side of the table (the foot of the cross section plate should slide into the corresponding slot on the bracket).
Image to add: CS plate with knee kit inserted into bracket clamped onto table